Beautifying your Wireshark on macOS
Need to do some fast and crazy Wireshark hacking? Or are you using Wireshark everyday on macOS and hate the ugly default GTK styling? Let’s make Wireshark beautiful!
Step 1: Change your GTK 2.0 Theme
We’ll use DG09’s Lion Theme for GTK 2.0. I’ve made two minor changes for Mavericks.
[Preview: http://dg09.deviantart.com/art/Lion-Theme-Beta-207837762]
[Download: https://static1.squarespace.com/static/…/DG09-LionGTK.mod.tgz]
$ brew install gtk-chtheme
If you’re not using brew on macOS , you’re on your own for the install of brew or gtk-chtheme. Though it’s highly recommended to install brew!
$ tar -xzf DG09-LionGTK.mod.tgz -C /usr/local/Cellar/gtk+/2.24.24/share/themes/ $ gtk-chtheme
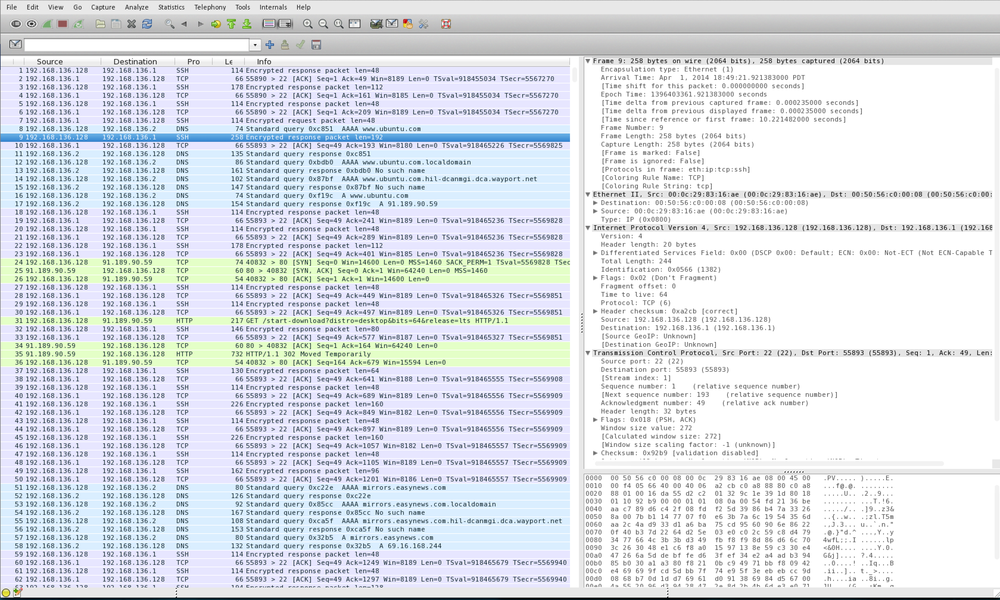
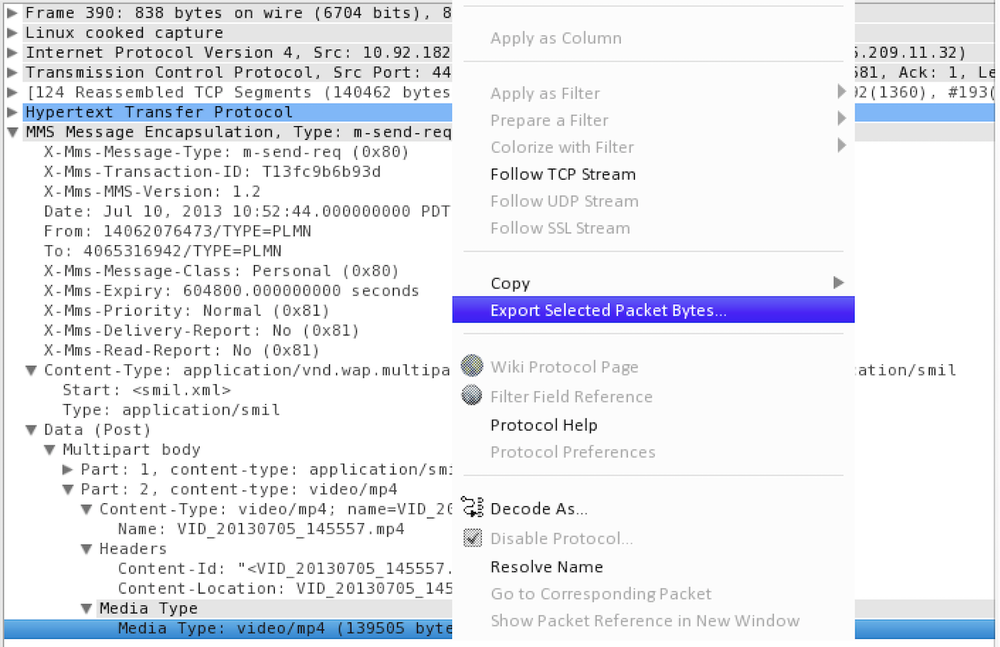
Now select “LionGTK” and hit Apply. Then marvel at the beauty of your context menus:
Step 2: Change the Layout (optional)
The layout in the preview above in my opinion is optimal. It maximises the use of your screen real estate while maximizing display of decoded packet details and bytes.
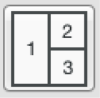
Open Preferences (Shift+Ctrl+P) User interface -> Layout -> Select the 4th option: A vertical display for 1, and split 2, 3. Where 1 is the packet list, 2 is the packet details, and 3 are the bytes.
Columns: Remove the “time” column if you need to work quickly, this is another tip to improve display.
Font and Colors: Monospace, 8. This is critical when using a retina display.
Step 3: Disable Name Lookups
By disabling name resolution and MAC lookups we squeeze about 1 second of decode time off a sparse 50M capture. This is also critical as 1 second applies to each filter change.
Open Preferences (Shift+Ctrl+P) Name Resulution: Uncheck everything but “hosts”. Hosts are a small lookup and aide on-network or known-machine identification. When crunching packets quickly you may want to remove this as you’ll most likely be whitelisting known hosts.
Step 4: Use Filter Definitions
To filter quickly and adequately, use the filter definitions tools in Preferences. These MACROed definitions will show up on your filter bar and make sure of some previously-unused screen space.
Here are some example definitions:
NOTCPHAND !(tcp.flags == 0x010) and !(tcp.flags == 0x002) and !(tcp.flags == 0x012) TCPSYN (tcp.flags == 0x002) NOTCPUDP !(tcp or udp or arp)
Remember, leave no screen real estate unoccupied! (Here’s a preview)

Epilog
The two most useful tips I’ve learned from Wireshark addicts are:
- Use (Ctrl+F) to search BOTH Packet Bytes and Packet Details, though details take a bit longer to search/parse. When searching be sure to search by: String and search in: Packet Bytes (for example). Switching between ASCII/Unicode is also “sometimes” helpful.
- When pivoting through packets and decoded details use the (Right Click) Prepare a filter! This will add the filtered bytes/details to your current filter without wasting time applying. Now you can quickly check or edit the “would-have-been-applied” filter. This will expose the exact field you wanted for a quick copy-paste into another filter or scratch pad.